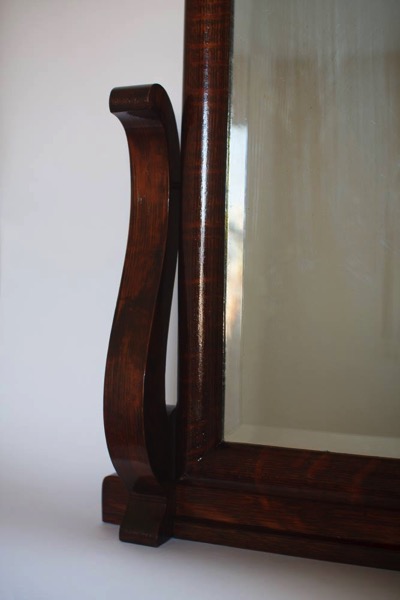
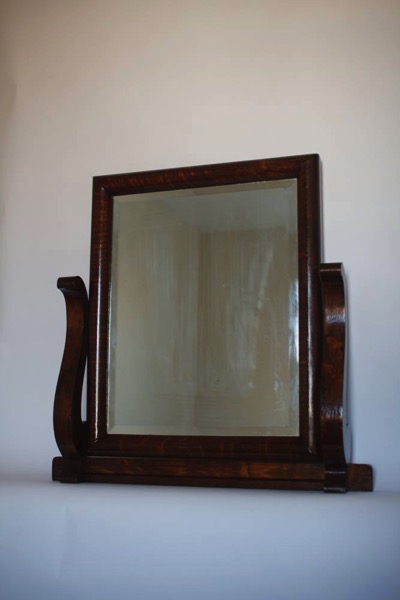
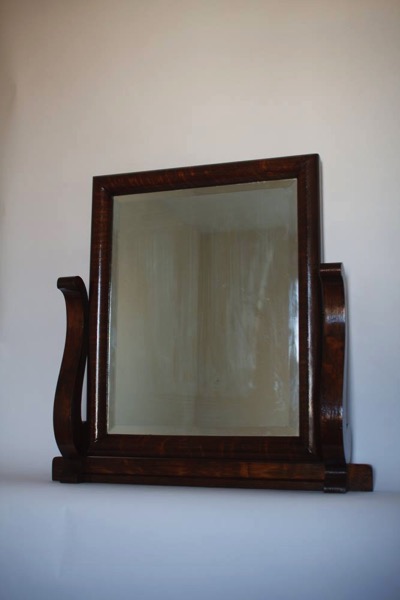
I have a dresser in my bedroom that has been in the family for a while. I’m told my uncle used it as a boy, which makes it at least 60 years old, and I’d suspect older. There are mounting points on the back, for a mirror that I’d never seen in my life. But I’d been thinking for the last few years that it would be nice to put one back on there. I’d researched a bit, for what style the original would have been. And kept an eye out for second hand mirrors.
Then a few months back, Abbey and I were wandering through (local salvage business) Community F0rklift, when she saw this mirror, and urged me to get it for the dresser. It was pretty dirty, and a bit beat up. And I wasn’t sure about the size. But it was cheap, and I didn’t really have anything to lose.
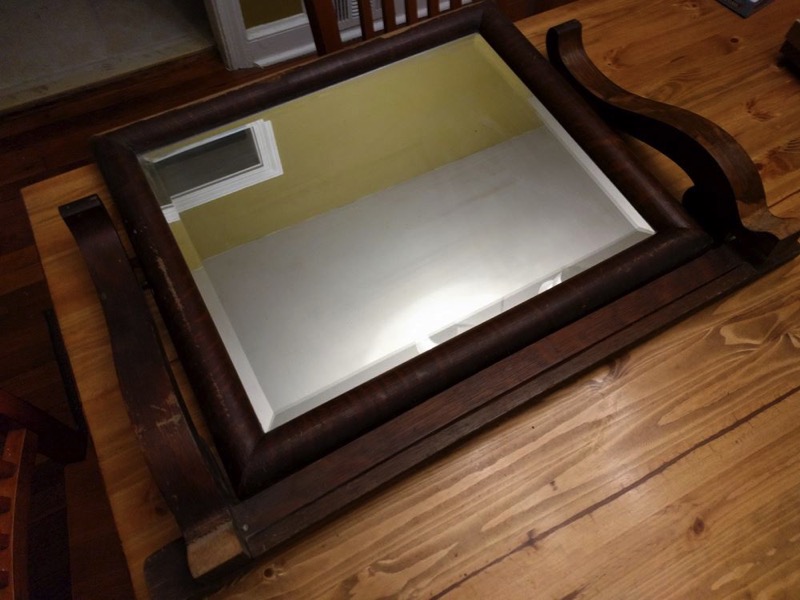
When we got it home, it was too big by several inches. I stewed on that for a while, thinking I could use it somewhere else or sell it on to someone else. But. it occurred to me a day or so later, thatI could probably move the mounting brackets and rotate the mirror 90 degrees. I would just have to chop out a few inches of the bottom bar; but that cut could be hidden behind one of the uprights.
So… this could still work, it seemed.
The first picture above was after a rough cleaning. Some mineral spirits, to get the grime out and get a good look at the condition of the piece.
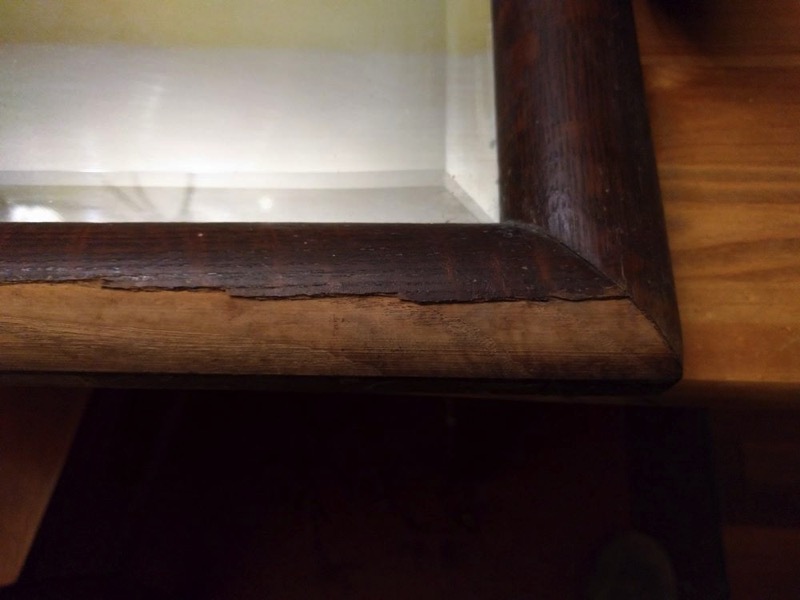
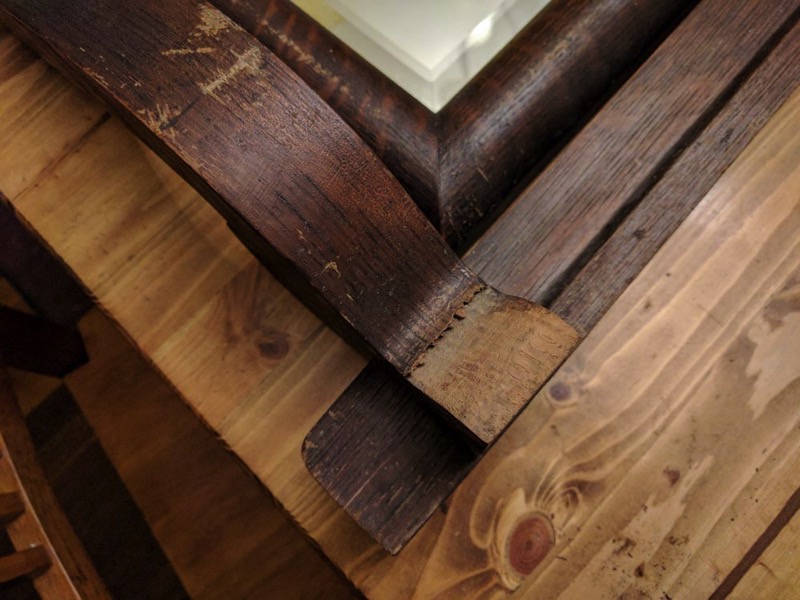
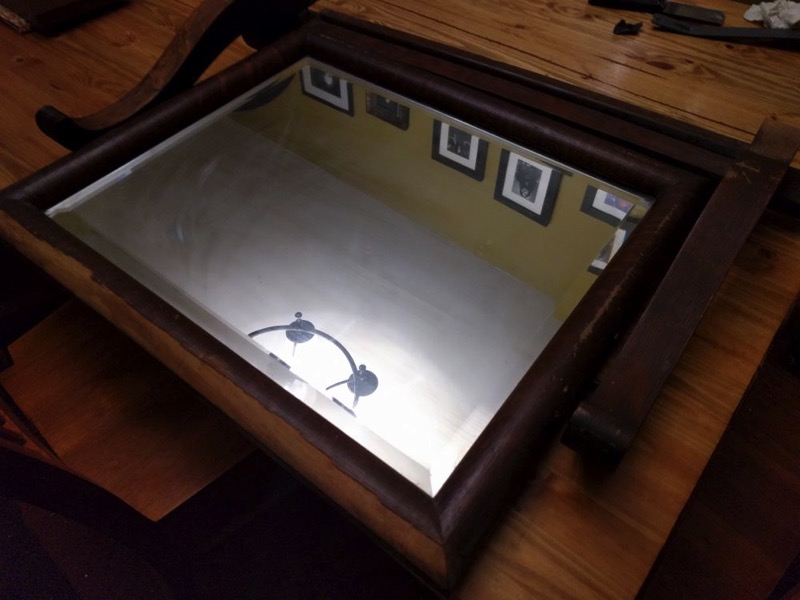
As you can see in these two photos, there were a couple spots where veneer had broken away. And some minor cracks in one of the uprights. The back panel needed a few new nails to hold it firm. But otherwise, it was in solid shape, and the mirror itself was really good for it’s age.
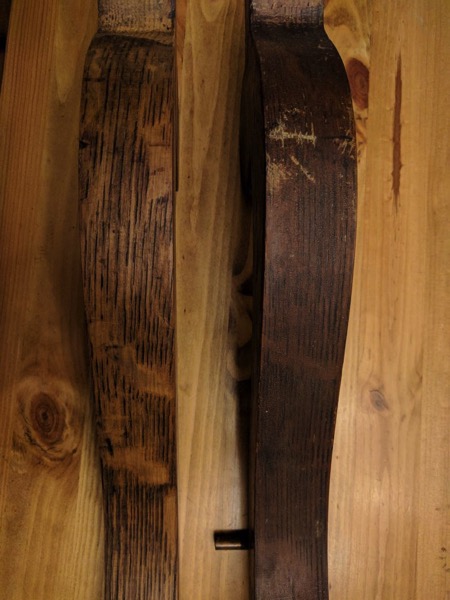
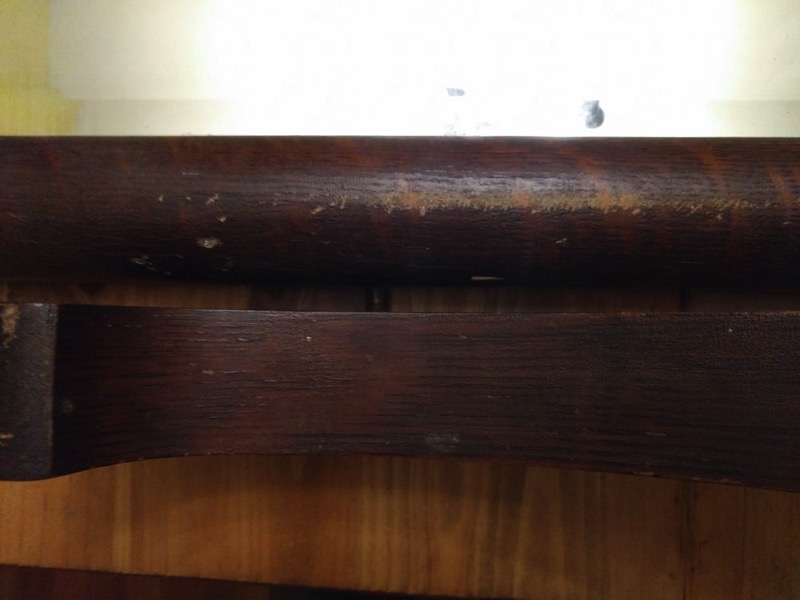
The first step is usually deconstruction, so I broke down the frame into it’s constituent parts, and scrubbed everything with denatured alcohol and 4-aught steel wool. (I was fairly sure it was finished in shellac, and denatured alcohol will dissolve shellac.) As you can see, it took off the finish and a fair amount of staining. And all the scrapes, like the one on the above photo, disappeared during this process too. (I assume, between the overall lightening, and some carried over stain, the scrapes now just blended in.) The original wood grain now stood out much more.
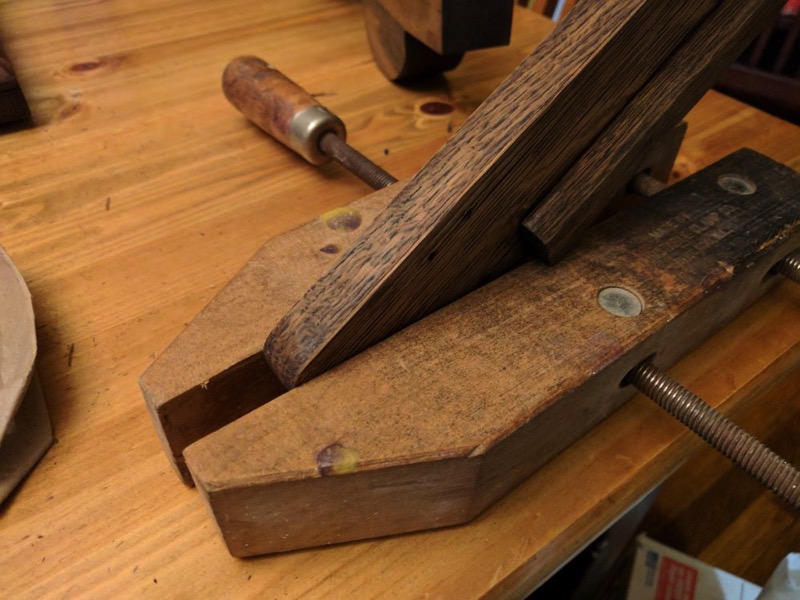
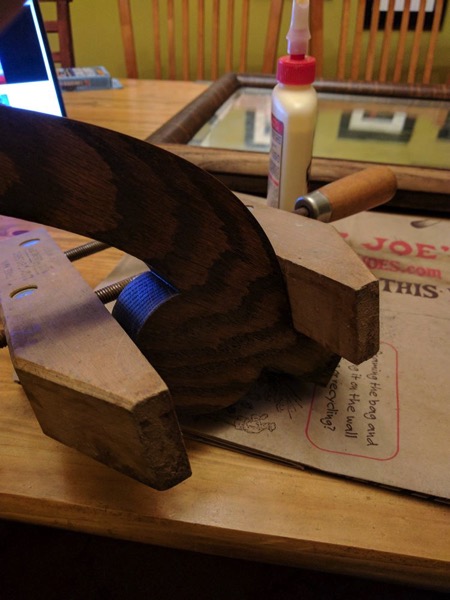
I measured, tested, and chopped out about 4 inches of the bottom bar.
Next I needed to deal with the missing and loose veneer. The loose veneer is fairly easy… I could just use some wood glue, and clamp it in place to dry.
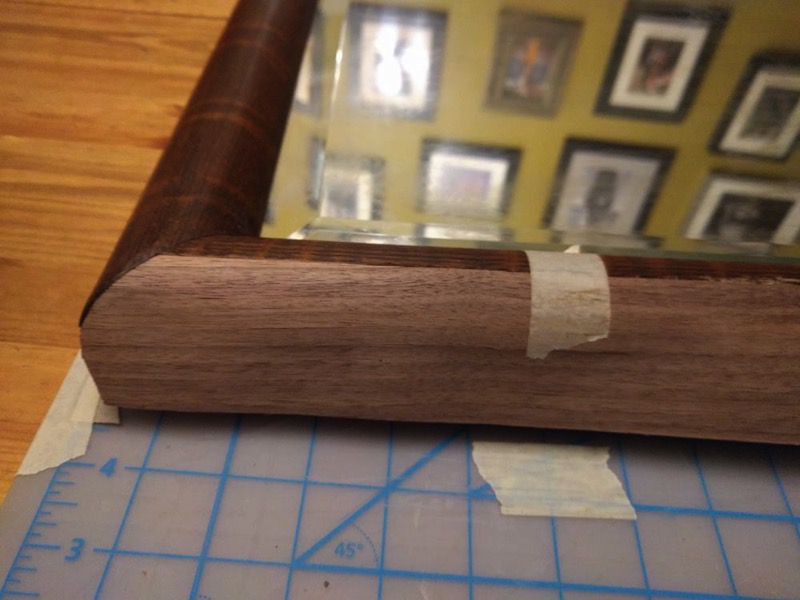
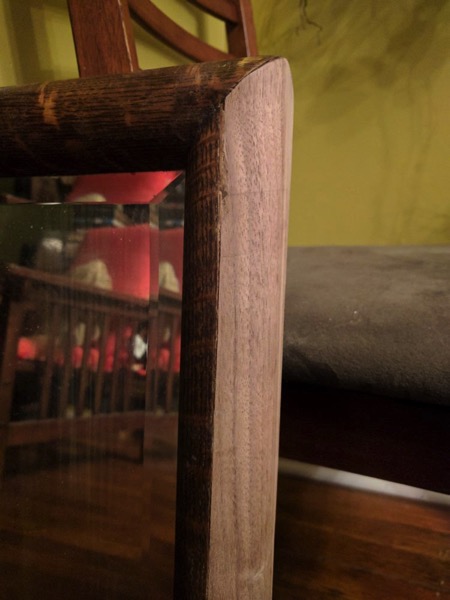
I’ve never dealt with veneer before, so I did a lot of studying and how-to watching at this point. It basically came down to trimming away the damaged veneer until you got a nice clean edge, and applying the new. I searched for the closest veneer I could find to the original, in texture and pattern. Then I made some templates of the spots to be redone, out of brown paper bag. I got lucky and they looked pretty good on the first try. This was heat-adhesive backed veneer, so I literally ironed it on, and taped/clamped it until it cooled.
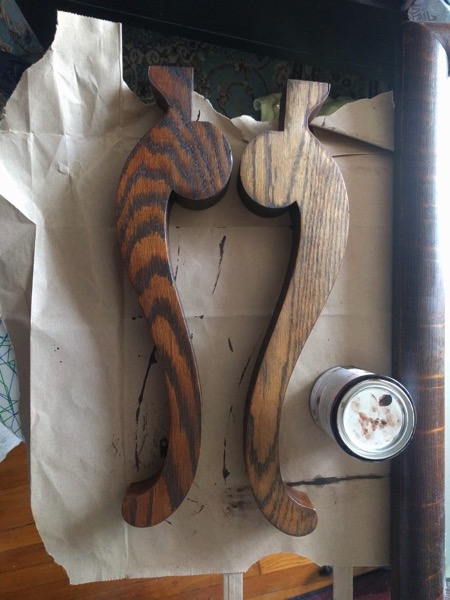
At this point, I re-stained all the pieces so they matched the dresser. (They were already a close match.)
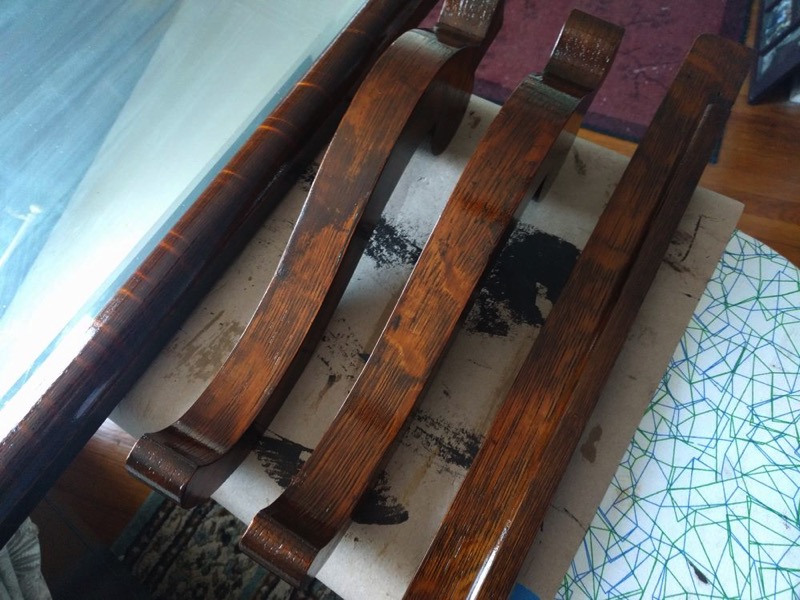
And I re-shellaced everything. The wood came out quite beautiful.
At this point, all that was left was to reposition the mounting brackets, and re-assembling the whole thing. I used all the original hardware, which had been cleaned up as well.
When assembled and mounted on the dresser, it was perfect. If you didn’t know the story, you’d never know it wasn’t original.
